Product docs and API reference are now on Akamai TechDocs.
Search product docs.
Search for “” in product docs.
Search API reference.
Search for “” in API reference.
Search Results
results matching
results
No Results
Filters
Deploy a Private Open Container Initiative (OCI) Native Registry With zot
Traducciones al EspañolEstamos traduciendo nuestros guías y tutoriales al Español. Es posible que usted esté viendo una traducción generada automáticamente. Estamos trabajando con traductores profesionales para verificar las traducciones de nuestro sitio web. Este proyecto es un trabajo en curso.
From hobbyists working on their latest and greatest side project all the way to engineers shipping the next version of their enterprise-ready application at work, a wide group of developers frequently make use of containers in their day-to-day work.
Many tools have been developed around the container ecosystem and a common standard known as Open Container Initiative (OCI) facilitates interoperability between these tools.
This guide explores storage and distribution of OCI container images with zot. This allows storing a freshly-baked container image and caching frequently used public images.
What is zot?
zot is a vendor-neutral OCI-native registry. It can run on different types of hardware ranging from embedded devices to large cloud virtual machines (VM).
Some of the features that make zot a great tool are:
- Awesome web-based user interface
- Command Line Interface (CLI) tool to interact with zot
- Security integrations including Single Sign-On (SSO) support with OpenID Connect (OIDC), htpasswd, and API keys
- Built-in artifact scanning with Trivy
- Easy configuration file
- Support for multiple backends to store data such as S3-compatible services
- Options for scaling out high-scale deployments
- Single-binary application with multiple deployment options including standalone service and Kubernetes
- Support for Authorization via a permissions system
- Monitoring with built-in metrics
Before You Begin
This guide uses an Akamai Cloud compute instance to run zot, but any other suitable machine also works fine. If you do not already have a VM to use, create a Compute Instance with at least 4 GB of memory. Check out the Getting Started with Linode and Creating a Compute Instance guides to get the basics setup.
This guide uses the Ubuntu 24.04 LTS image available in Akamai Cloud. systemd will be used to run zot as a service. Any other Linux distributions that use systemd are also suitable to follow along with this guide.
You may also wish to set the timezone, configure your hostname, create a limited user account, and harden SSH access.
On startup, zot will download some rather large artifacts for the image scanning feature. Ensure that the machine where zot is to be run has an internet connection that is not metered or has the necessary allowance to download large files which total approximately 1 GB in size.
This guide makes use of htpasswd, on Ubuntu, this requires the
apache2-utilspackage to be installed.This guide will use podman for working with OCI container images. This would need to be installed on the client you wish to download images to (the computer you are reading this guide on, for example). podman does not need to be installed on the server where zot will be deployed.
TLS will be enabled for the registry as part of the steps in this guide. Ensure you have generated a set of certificates for the server to use. To learn more about SSL certification, check out our guides Understanding TLS Certificates and Connections and Securing Web Traffic Using Certbot. You may choose to use a proxy such as NGINX, however, this guide will configure zot to use TLS certificates directly.
sudo. If you’re not familiar with the sudo command, see the
Users and Groups guide.Deploying zot
This section will walk through the process of downloading, configuring, and running zot.
Step 1: Create the zot user and directories
Create a dedicated user for zot
This command sets up the user:
sudo adduser --no-create-home --gecos --disabled-password --disabled-login zotYou should see output similar to this:
info: Adding user `zot' ...
info: Selecting UID/GID from range 1000 to 59999 ...
info: Adding new group `zot' (1001) ...
info: Adding new user `zot' (1001) with group `zot (1001)' ...
info: Not creating home directory `/home/zot'.
info: Adding new user `zot' to supplemental / extra groups `users' ...
info: Adding user `zot' to group `users' ...
Create directories to store zot stuff
The following directories will be created to store zot-related data:
- data directory -
/data/zot - log directory -
/var/log/zot - config directory -
/etc/zot
The following commands create the directories and also assign the correct permissions:
sudo mkdir -p /data/zot
sudo chown -R zot:zot /data/zot

sudo mkdir -p /var/log/zot
sudo chown -R zot:zot /var/log/zot

sudo mkdir -p /etc/zot
sudo chown -R zot:zot /etc/zot
Step 2: Identifying the right zot build to use
zot builds are all published on the project’s GitHub Releases page.
There are builds for different CPU architectures and platforms.
For this guide, the machine plaform is Linux and has a CPU architecture of amd64.
zot is also built in 2 flavors - a “normal” version and a minimal version. The builds for the minimal version have a suffix of -minimal. The minimal version is intended for systems where only the OCI registry functionality is required. The normal version includes more features such as the UI, container scanning, etc. This guide will use the “normal” build.
Therefore, for this guide, the binary of choice would be zot-linux-amd64.
Step 3: Download the zot binary to the machine
The following command will download the zot v2.1.8 binary and place it into /tmp directory.
wget https://github.com/project-zot/zot/releases/download/v2.1.8/zot-linux-amd64 -O /tmp/zot-linux-amd64The binary can be checked for correctness and validity by checking the SHA256 checksum with the following commands:
wget https://github.com/project-zot/zot/releases/download/v2.1.8/checksums.sha256.txt -O '/tmp/checkums.sha256.txt'Navigate to /tmp and use the following command to verify the checksum:
cat './checkums.sha256.txt' | grep 'zot-linux-amd64$' | sha256sum -cYou would see output like below if the checksums match:
zot-linux-amd64: OKNext, move the binary to the destination and make it executable. Give the zot user and group ownership with the following commands:
sudo mv /tmp/zot-linux-amd64 /usr/bin/zot
sudo chown zot:zot /usr/bin/zot
sudo chmod +x /usr/bin/zot
Step 4: Login security
To protect logins for zot, an authentication mechanism is required. There are multiple ways to authenticate to zot, but for simplicity, this guide will use htpasswd.
The following command creates an htpasswd file which zot can be configured to use.
The first user is testuser and has a password of test123.
sudo htpasswd -bBc /etc/zot/htpasswd testuser test123You should see the output:
Adding password for user testuserStep 5: Create a configuration file for zot
zot takes a single configuration file that contains all the required configuration for the application. zot github repo’s examples directory has helpful example files that can used for various kinds of setups.
For this guide, a simple setup with UI, security scanning,and password authentication will suffice. The config file will be built-up step-by-step. The final sub-section contains the full configuration sample.
OCI Distribution Spec Version
First, the configuration of the version of distribution spec to be used. This will be set to the latest version at the time of writing which is 1.1.1.
- File: /etc/zot/config.json
1
2
3
{ "distSpecVersion": "1.1.1" }
Data Storage configuration
Next, zot needs to know where to store its local files. The highlighted config points it to the /data/zot directory created earlier:
- File: /etc/zot/config.json
1
2
3
4
5
6
{ "distSpecVersion": "1.1.1", "storage": { "rootDirectory": "/data/zot" } }
Server Network configuration
zot interacts with clients over the network and needs to know which host and port to listen to for client connections. The highlighted portion of the config tells zot to listen to all interfaces on the machine on port 8080.
- File: /etc/zot/config.json
 1
 2
 3
 4
 5
 6
 7
 8
 9
10
{ "distSpecVersion": "1.1.1", "storage": { "rootDirectory": "/data/zot" }, "http": { "address": "0.0.0.0", "port": "8080" } }
Log Path configuration
zot logs typically print to the console, however, a dedicated directory was created earlier for storing logs. The following highlighted config tells zot to write logs to the given file path at the info level.
- File: /etc/zot/config.json
 1
 2
 3
 4
 5
 6
 7
 8
 9
10
11
12
13
14
{ "distSpecVersion": "1.1.1", "storage": { "rootDirectory": "/data/zot" }, "http": { "address": "0.0.0.0", "port": "8080" }, "log": { "level": "info", "output": "/var/log/zot/zot.log" } }
Login security configuration
zot needs to know about the htpasswd file that was created earlier. The following highlighted config tells zot that authentication method is htpasswd and where it can find the file:
- File: /etc/zot/config.json
 1
 2
 3
 4
 5
 6
 7
 8
 9
10
11
12
13
14
15
16
17
18
19
{ "distSpecVersion": "1.1.1", "storage": { "rootDirectory": "/data/zot" }, "http": { "address": "0.0.0.0", "port": "8080", "auth": { "htpasswd": { "path": "/etc/zot/htpasswd" } } }, "log": { "level": "info", "output": "/var/log/zot/zot.log" } }
Additionally, enable API key support for use with external OCI tools. The highlighted section below indicates the required configuration:
- File: /etc/zot/config.json
 1
 2
 3
 4
 5
 6
 7
 8
 9
10
11
12
13
14
15
16
17
18
19
20
{ "distSpecVersion": "1.1.1", "storage": { "rootDirectory": "/data/zot" }, "http": { "address": "0.0.0.0", "port": "8080", "auth": { "htpasswd": { "path": "/etc/zot/htpasswd" }, "apikey": true } }, "log": { "level": "info", "output": "/var/log/zot/zot.log" } }
Enable UI and Scanning extensions
The zot UI and container scanning functionality are part of extensions configuration and can be enabled as follows:
- File: /etc/zot/config.json
 1
 2
 3
 4
 5
 6
 7
 8
 9
10
11
12
13
14
15
16
17
18
19
20
21
22
23
24
25
26
27
28
29
30
{ "distSpecVersion": "1.1.1", "storage": { "rootDirectory": "/data/zot" }, "http": { "address": "0.0.0.0", "port": "8080", "auth": { "htpasswd": { "path": "/etc/zot/htpasswd" }, "apikey": true } }, "log": { "level": "info", "output": "/var/log/zot/zot.log" }, "extensions": { "search": { "cve": { "updateInterval": "2h" } }, "ui": { "enable": true } } }
Enable Registry synchronization
In order for zot to act as a pull-through cache, a configuration for a remote registry can be added to the config file. This guide will use DockerHub as the remote registry. zot will download and locally store any requested images on demand.
- File: /etc/zot/config.json
 1
 2
 3
 4
 5
 6
 7
 8
 9
10
11
12
13
14
15
16
17
18
19
20
21
22
23
24
25
26
27
28
29
30
31
32
33
34
35
36
37
38
39
40
{ "distSpecVersion": "1.1.1", "storage": { "rootDirectory": "/data/zot" }, "http": { "address": "0.0.0.0", "port": "8080", "auth": { "htpasswd": { "path": "/etc/zot/htpasswd" }, "apikey": true } }, "log": { "level": "info", "output": "/var/log/zot/zot.log" }, "extensions": { "search": { "cve": { "updateInterval": "2h" } }, "ui": { "enable": true }, "sync": { "enable": true, "registries": [ { "urls": ["https://docker.io/library"], "onDemand": true, "tlsVerify": true } ] } } }
More information about sync settings can be found in the zot documentation.
Enable TLS
For security, enable TLS with the following config. Replace /path/to/certfile and /path/to/keyfile with the paths to your web certificate and key files respectively.
zot user created earlier is able to access the certificate and key files.- File: /etc/zot/config.json
 1
 2
 3
 4
 5
 6
 7
 8
 9
10
11
12
13
14
15
16
17
18
19
20
21
22
23
24
25
26
27
28
29
30
31
32
33
34
35
36
37
38
39
40
41
42
43
44
{ "distSpecVersion": "1.1.1", "storage": { "rootDirectory": "/data/zot" }, "http": { "address": "0.0.0.0", "port": "8080", "auth": { "htpasswd": { "path": "/etc/zot/htpasswd" }, "apikey": true }, "tls": { "cert": "/path/to/certfile", "key": "/path/to/keyfile" } }, "log": { "level": "info", "output": "/var/log/zot/zot.log" }, "extensions": { "search": { "cve": { "updateInterval": "2h" } }, "ui": { "enable": true }, "sync": { "enable": true, "registries": [ { "urls": ["https://docker.io/library"], "onDemand": true, "tlsVerify": true } ] } } }
Step 6: Verify the configuration
sudo -u zot /usr/bin/zot verify /etc/zot/config.jsonIf everything is in good shape, the following output should be seen:
{"level":"info","config":"/etc/zot/config.json","time":<TIMESTAMP>,"message":"config file is valid"}Step 7: Creating the systemd service file
The following systemd service file will run the the zot service:
- File: /etc/systemd/system/zot.service
1 2 3 4 5 6 7 8 9 10 11 12 13[Unit] Description=zot registry Documentation=https://zotregistry.dev/ After=network.target [Service] Type=simple ExecStart=/usr/bin/zot serve /etc/zot/config.json User=zot Group=zot [Install] WantedBy=multi-user.target
For the service file to get picked up, after creating the file, run the following systemd reload command:
sudo systemctl daemon-reloadStep 8: Start zot
With all the configuration steps complete, start zot:
sudo systemctl start zotTo tell systemd that zot should be started automatically after the machine boots up, the service needs to be “enabled” with the following command:
sudo systemctl enable zotThe following command will help check to see if zot is working fine:
sudo systemctl status zotAn output indicating success would be:
● zot.service - zot registry
     Loaded: loaded (/etc/systemd/system/zot.service; enabled; preset: enabled)
     Active: active (running)
       Docs: https://zotregistry.dev/
   Main PID: 2537 (zot)
      Tasks: 8 (limit: 4605)
     Memory: 758.6M (peak: 758.7M)
        CPU: 2.285s
     CGroup: /system.slice/zot.service
             └─2537 /usr/bin/zot serve /etc/zot/config.json

localhost systemd[1]: Started zot.service - zot registry.
If things are not going so well, there may be a failure indicated in the status output. For example:
× zot.service - zot registry
     Loaded: loaded (/etc/systemd/system/zot.service; enabled; preset: enabled)
     Active: failed (Result: exit-code)
   Duration: 107ms
       Docs: https://zotregistry.dev/
   Main PID: 1882 (code=exited, status=2)
        CPU: 114ms

localhost systemd[1]: zot.service: Failed with result 'exit-code'.
To find what might have gone wrong, check the journal logs with sudo journalctl -u zot.service.
Additionally, look into the log file configured in the zot config to find any errors.
Checking out the zot UI
Access the zot UI from a web browser by navigating to https://ZOT_MACHINE_HOST_NAME_OR_IP:8080. Replace ZOT_MACHINE_HOST_NAME_OR_IP with your machine’s host name or IP address.
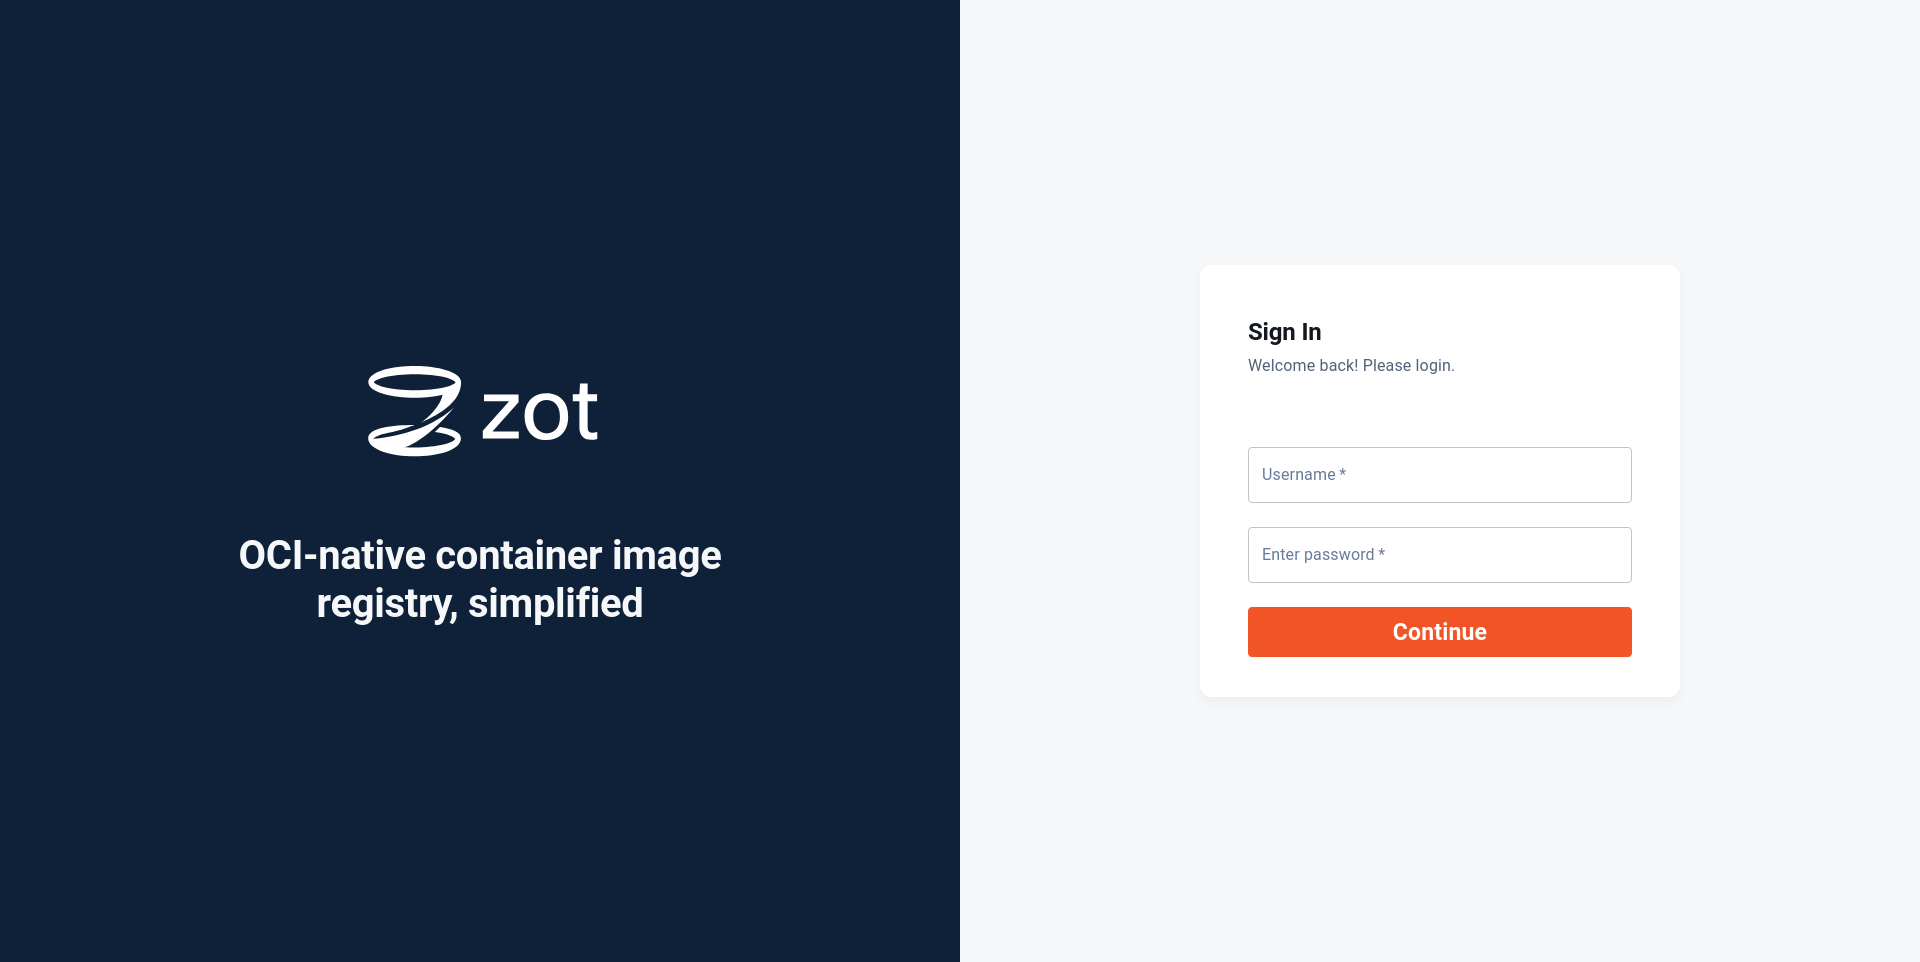
This should bring up a login page.

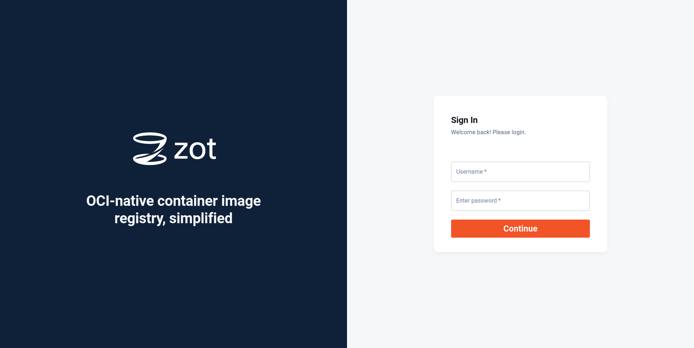
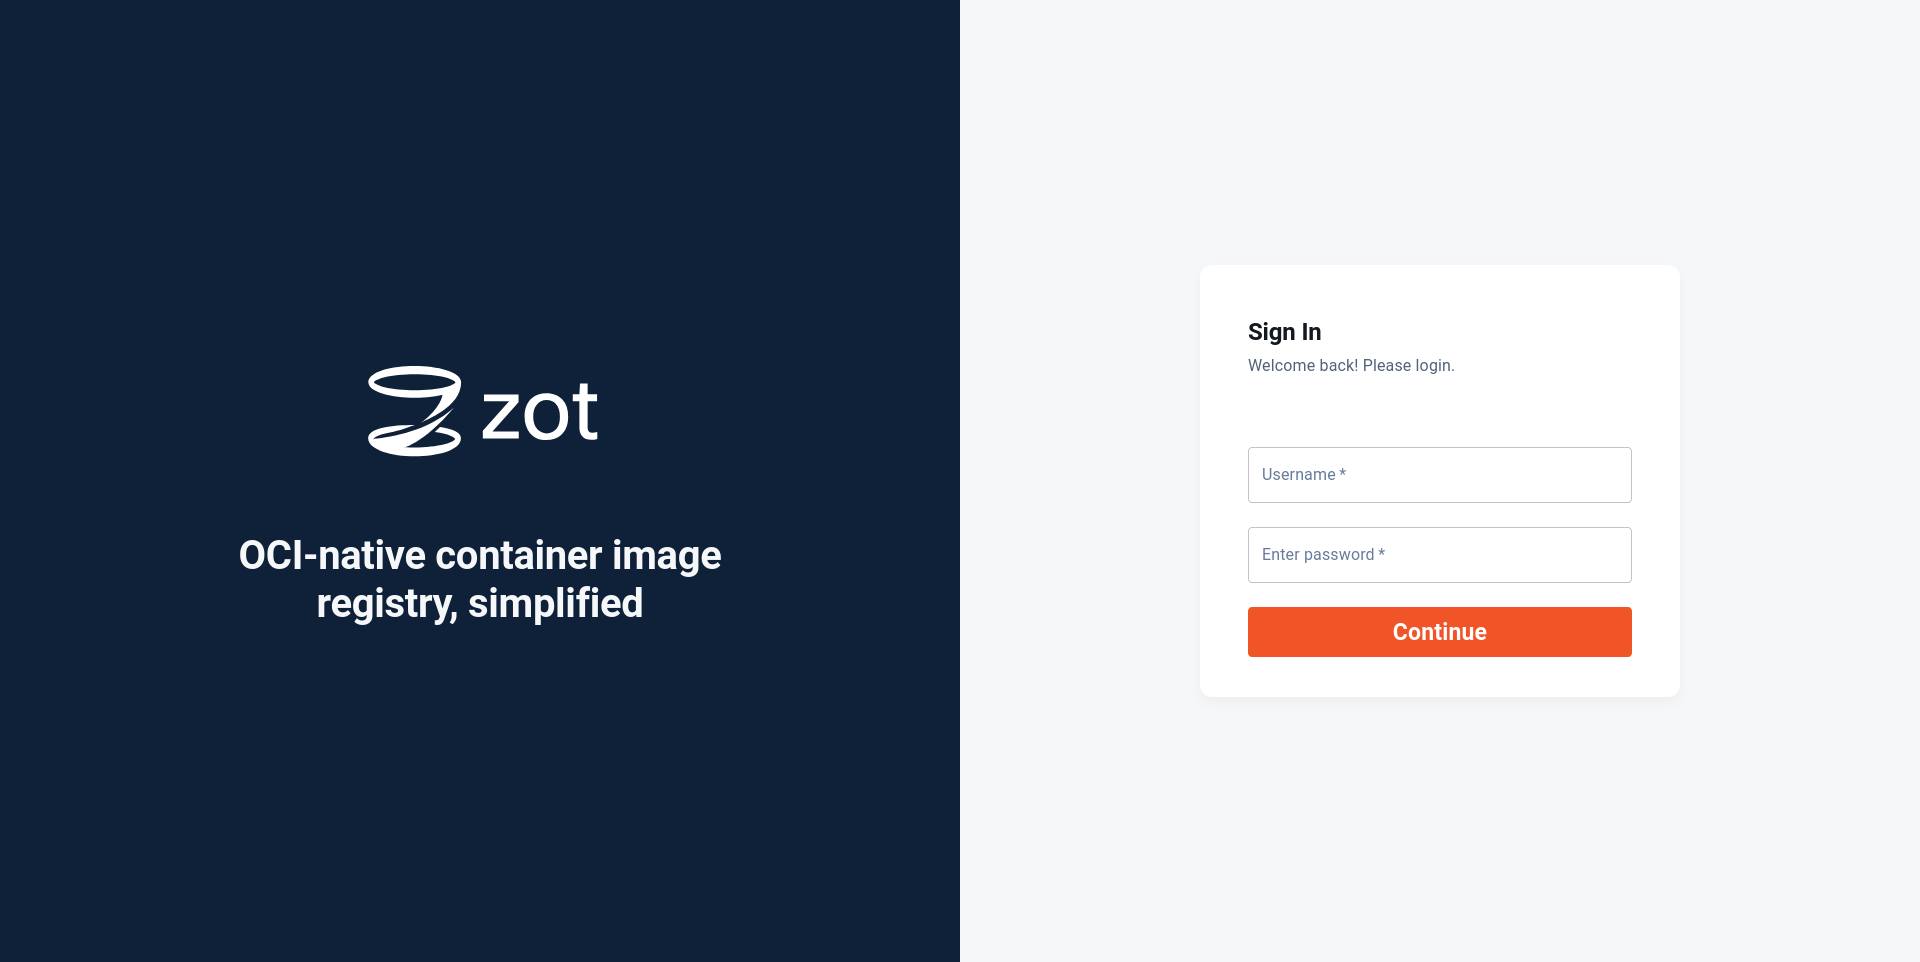
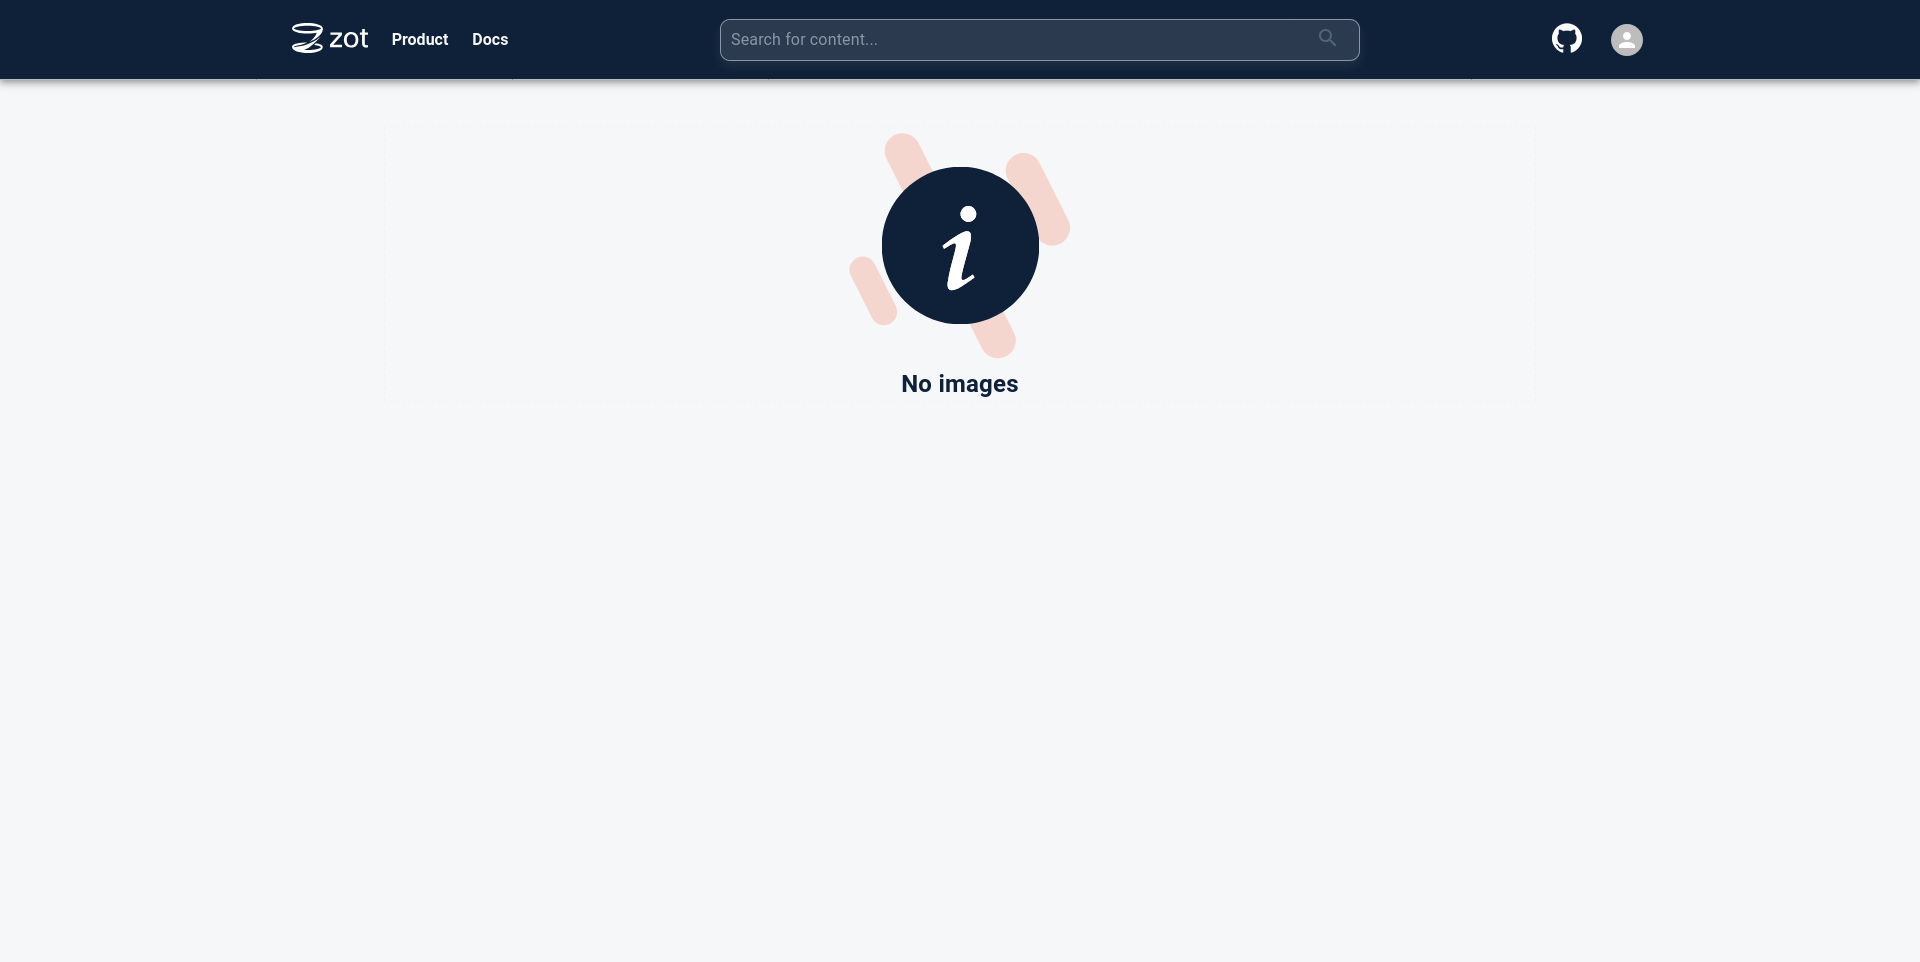
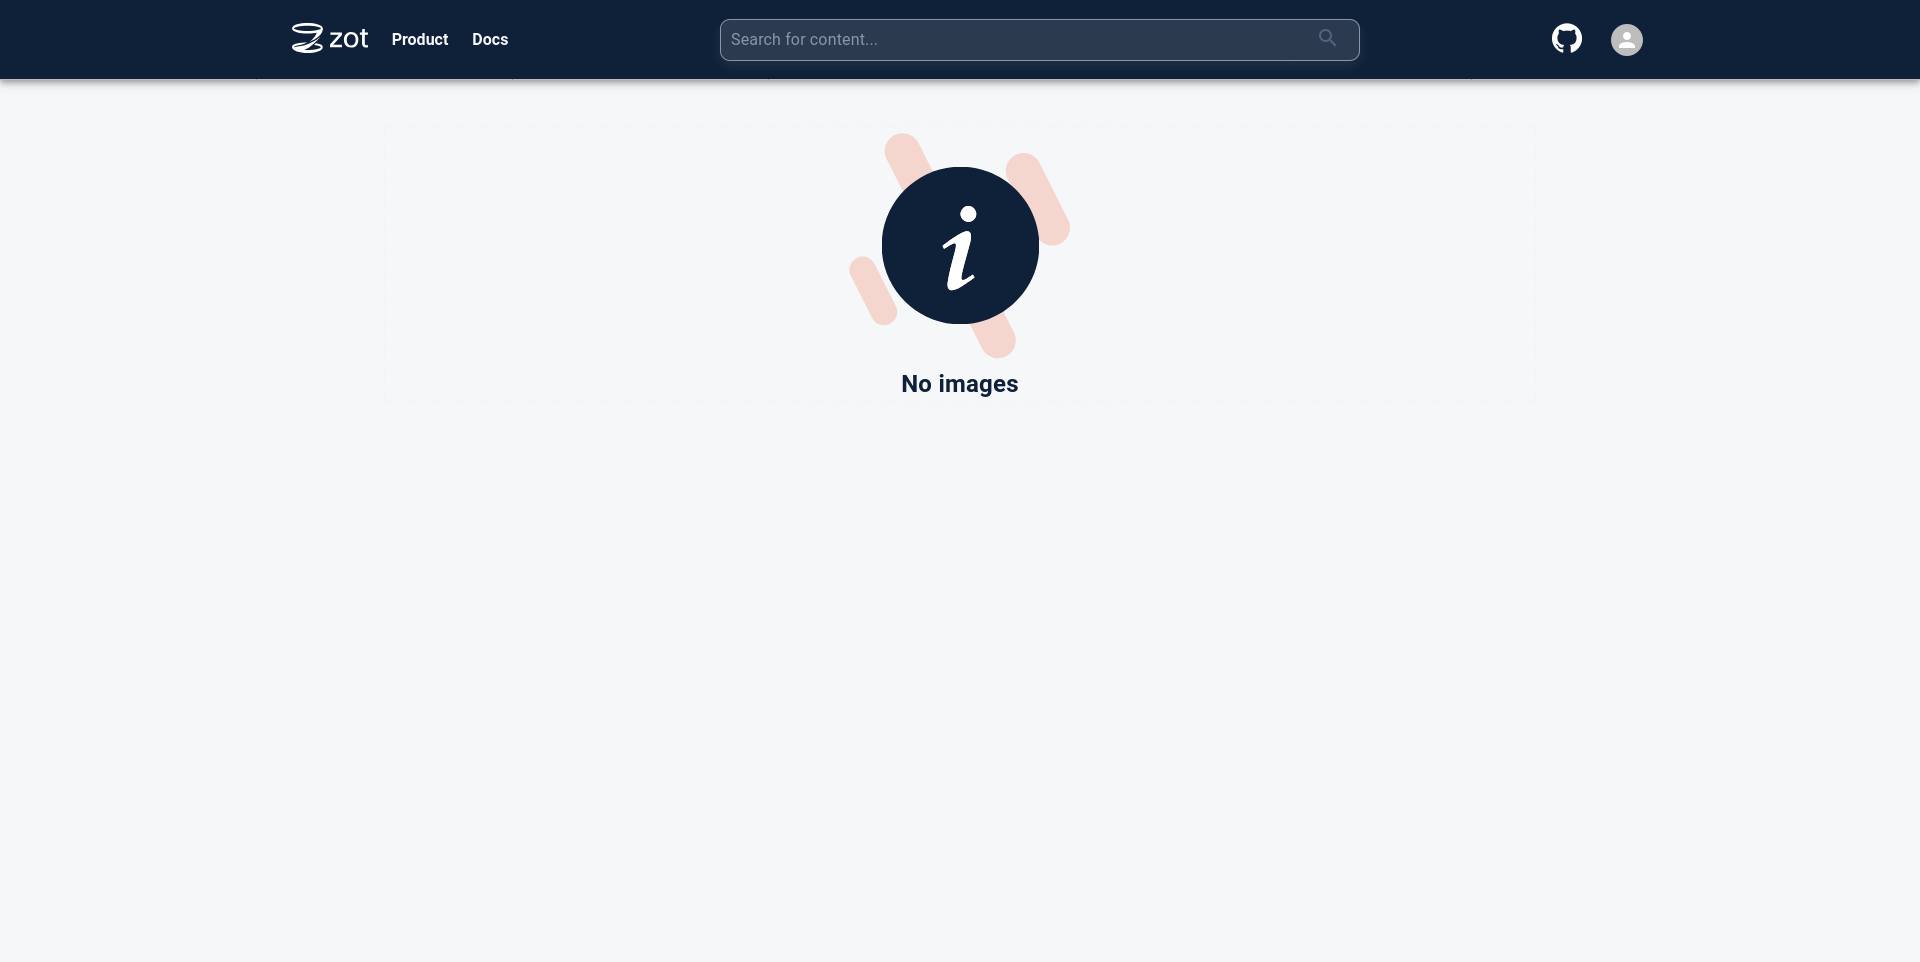
The credentials supplied for htpasswd file creation earlier can be used to login. After a successful login, the homepage would be displayed.

Creating an API key
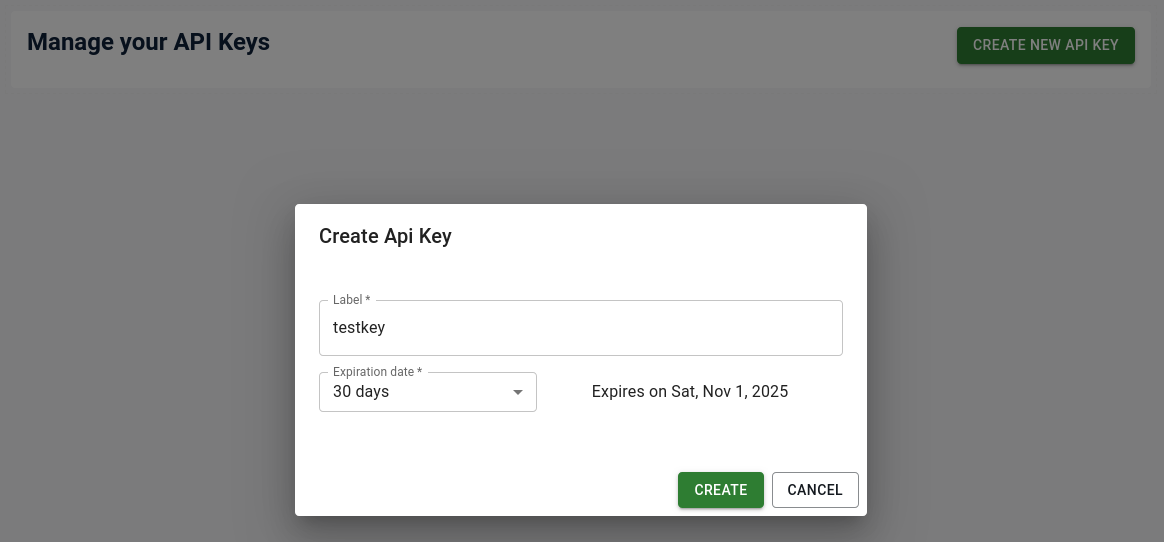
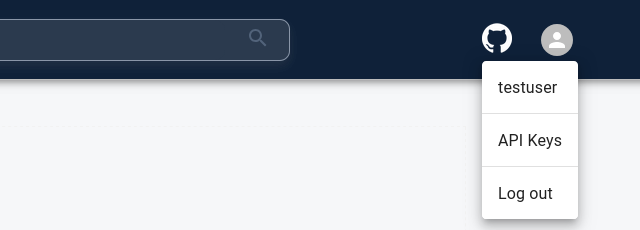
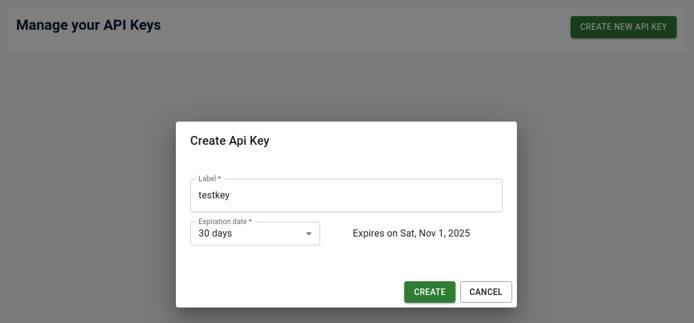
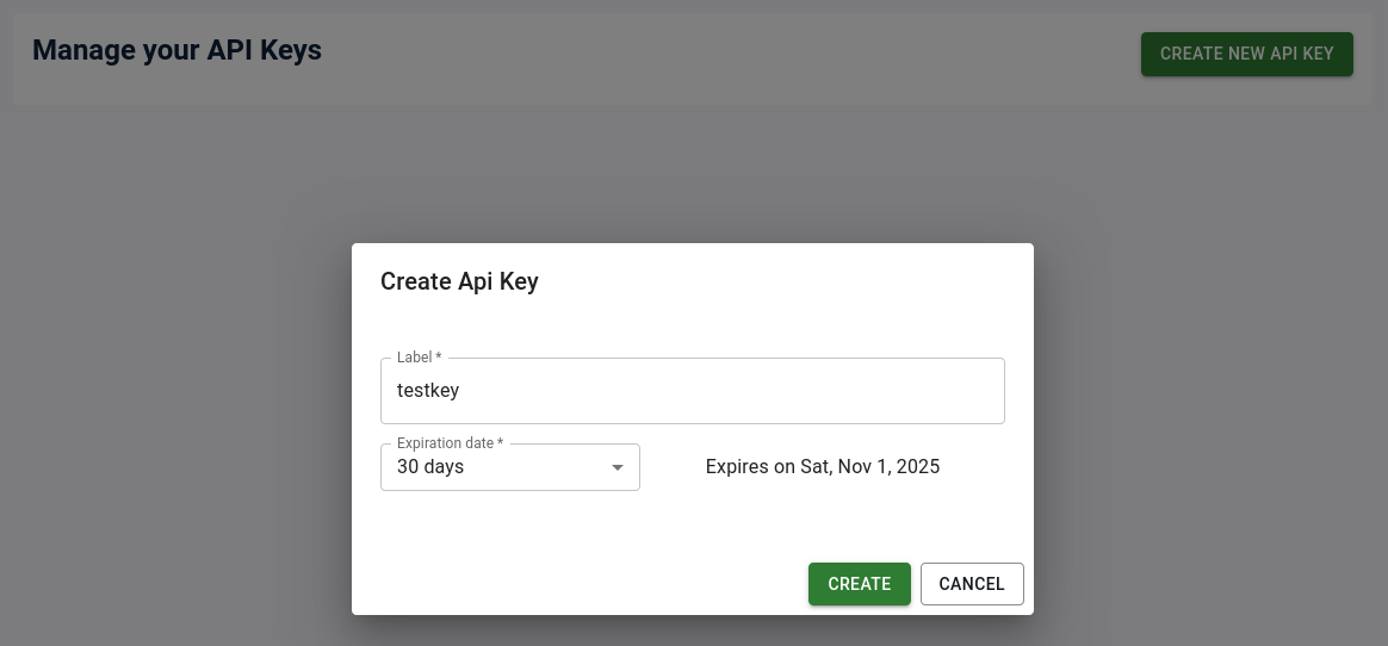
Generate an API key using the UI by clicking on the User Profile icon in the top right and selecting the “API Keys” option.




Downloading an image from zot
Use podman to download an image from the zot registry.
Login to the registry with the username configured earlier and the generated API key. Replace ZOT_MACHINE_HOST_NAME_OR_IP with your machine’s host name.
podman login ZOT_MACHINE_HOST_NAME_OR_IP:8080The following output is seen on a successful login:
Login Succeeded!Next, pull the image with the following command. Replace ZOT_MACHINE_HOST_NAME_OR_IP with your machine’s host name.
podman pull ZOT_MACHINE_HOST_NAME_OR_IP:8080/ubuntu:nobleIf everything works well, the image pull should succeed. The hashes in the output may differ in your case.
Trying to pull ZOT_MACHINE_HOST_NAME_OR_IP:8080/ubuntu:noble...
Getting image source signatures
Copying blob 953cdd413371 done   |
Copying config 6d79abd4c9 done   |
Writing manifest to image destination
6d79abd4c96299aa91f5a4a46551042407568a3858b00ab460f4ba430984f62c
View the image and security scan results in the zot UI
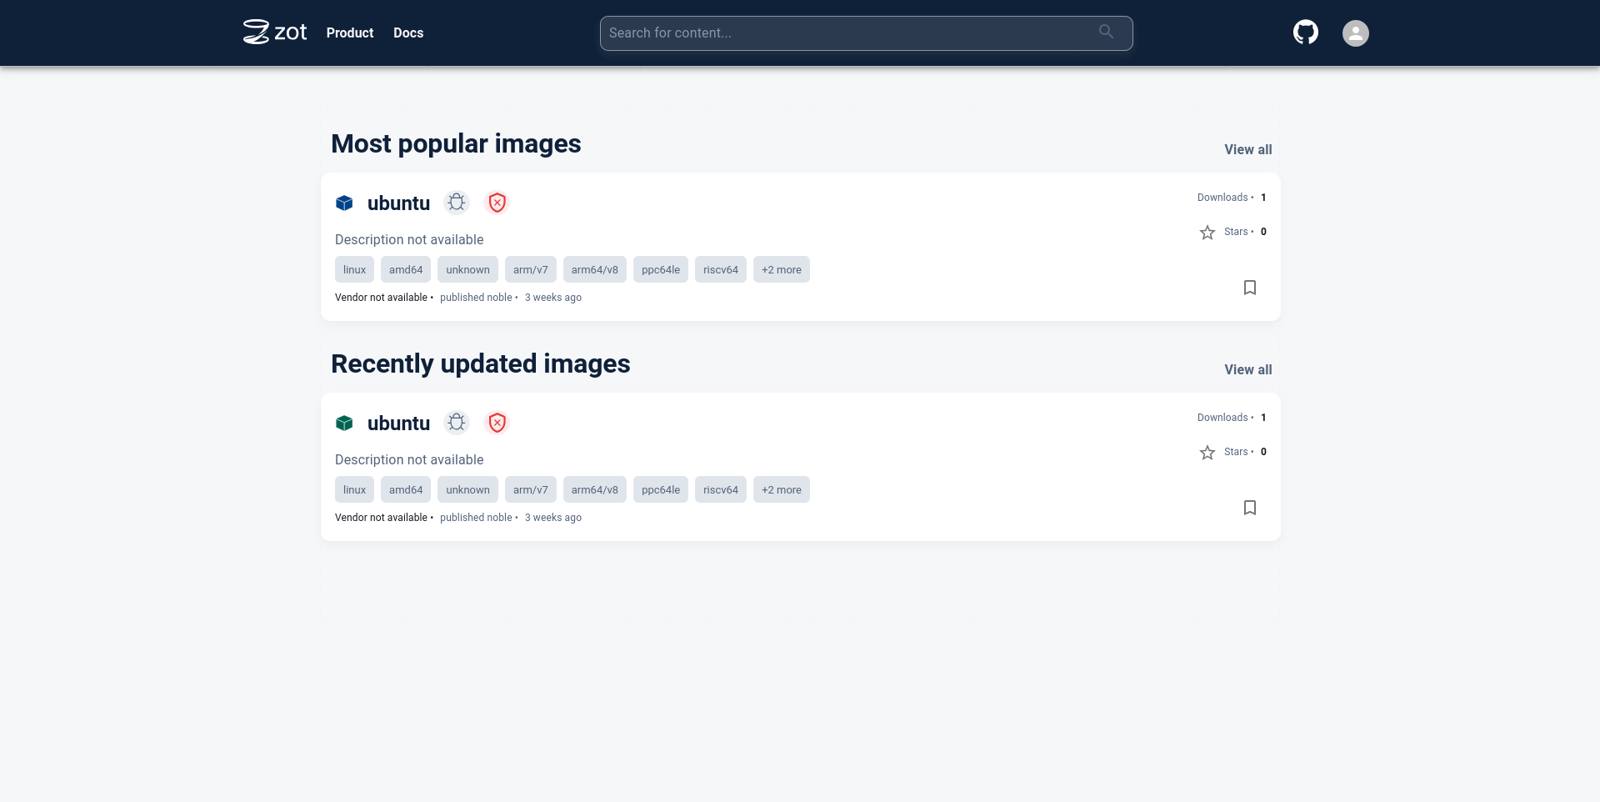
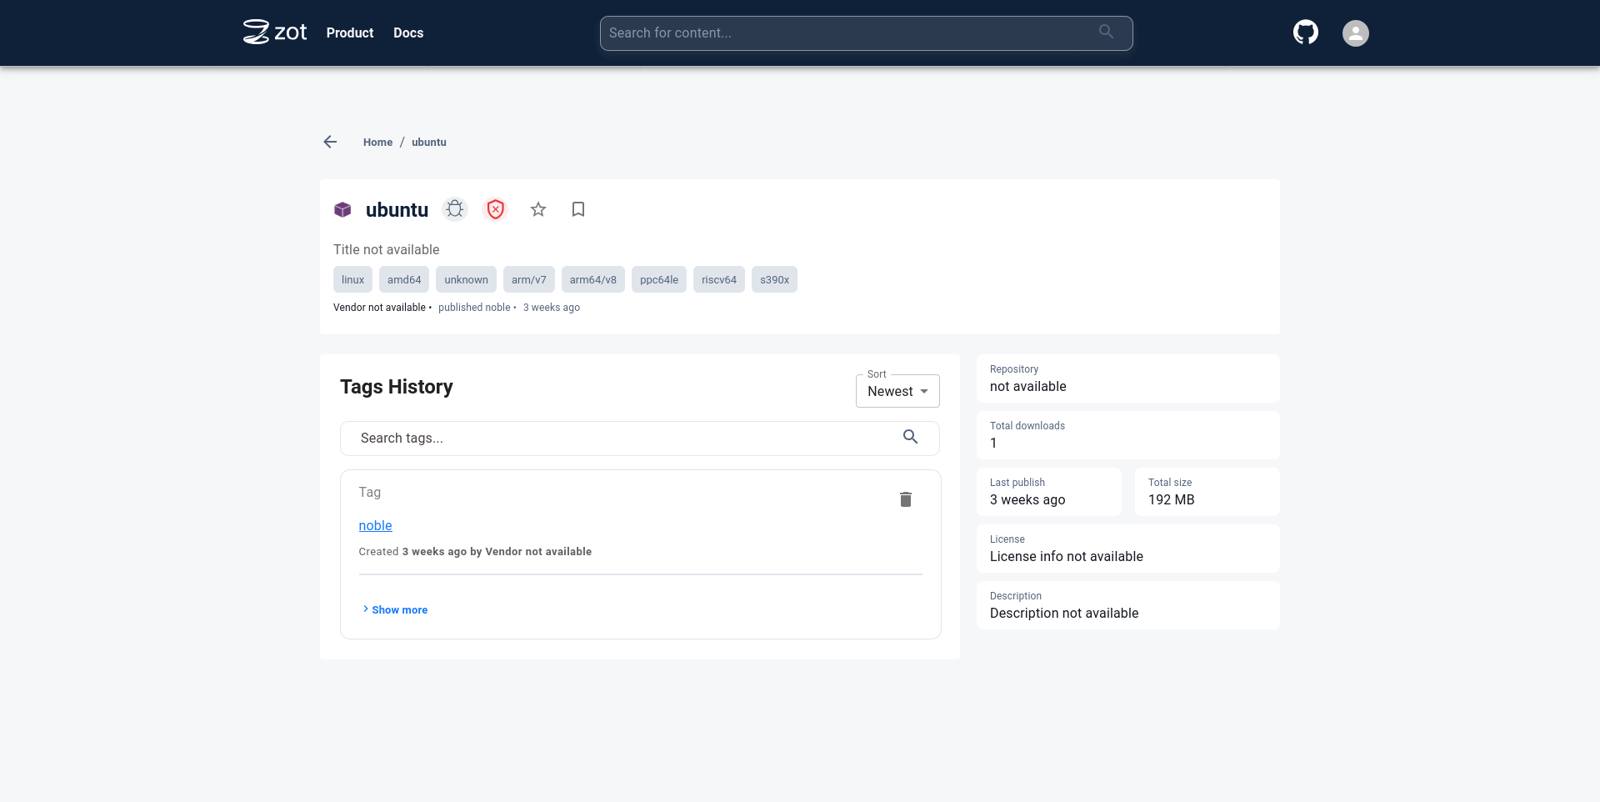
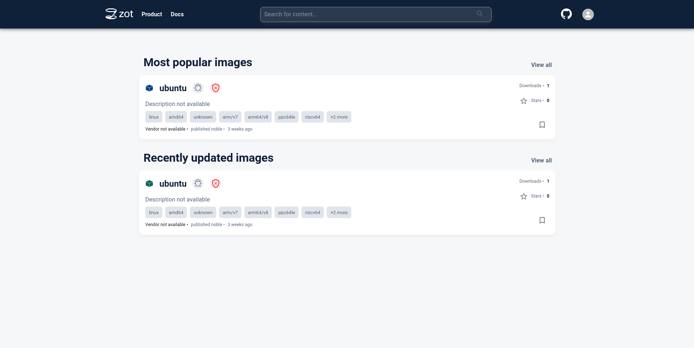
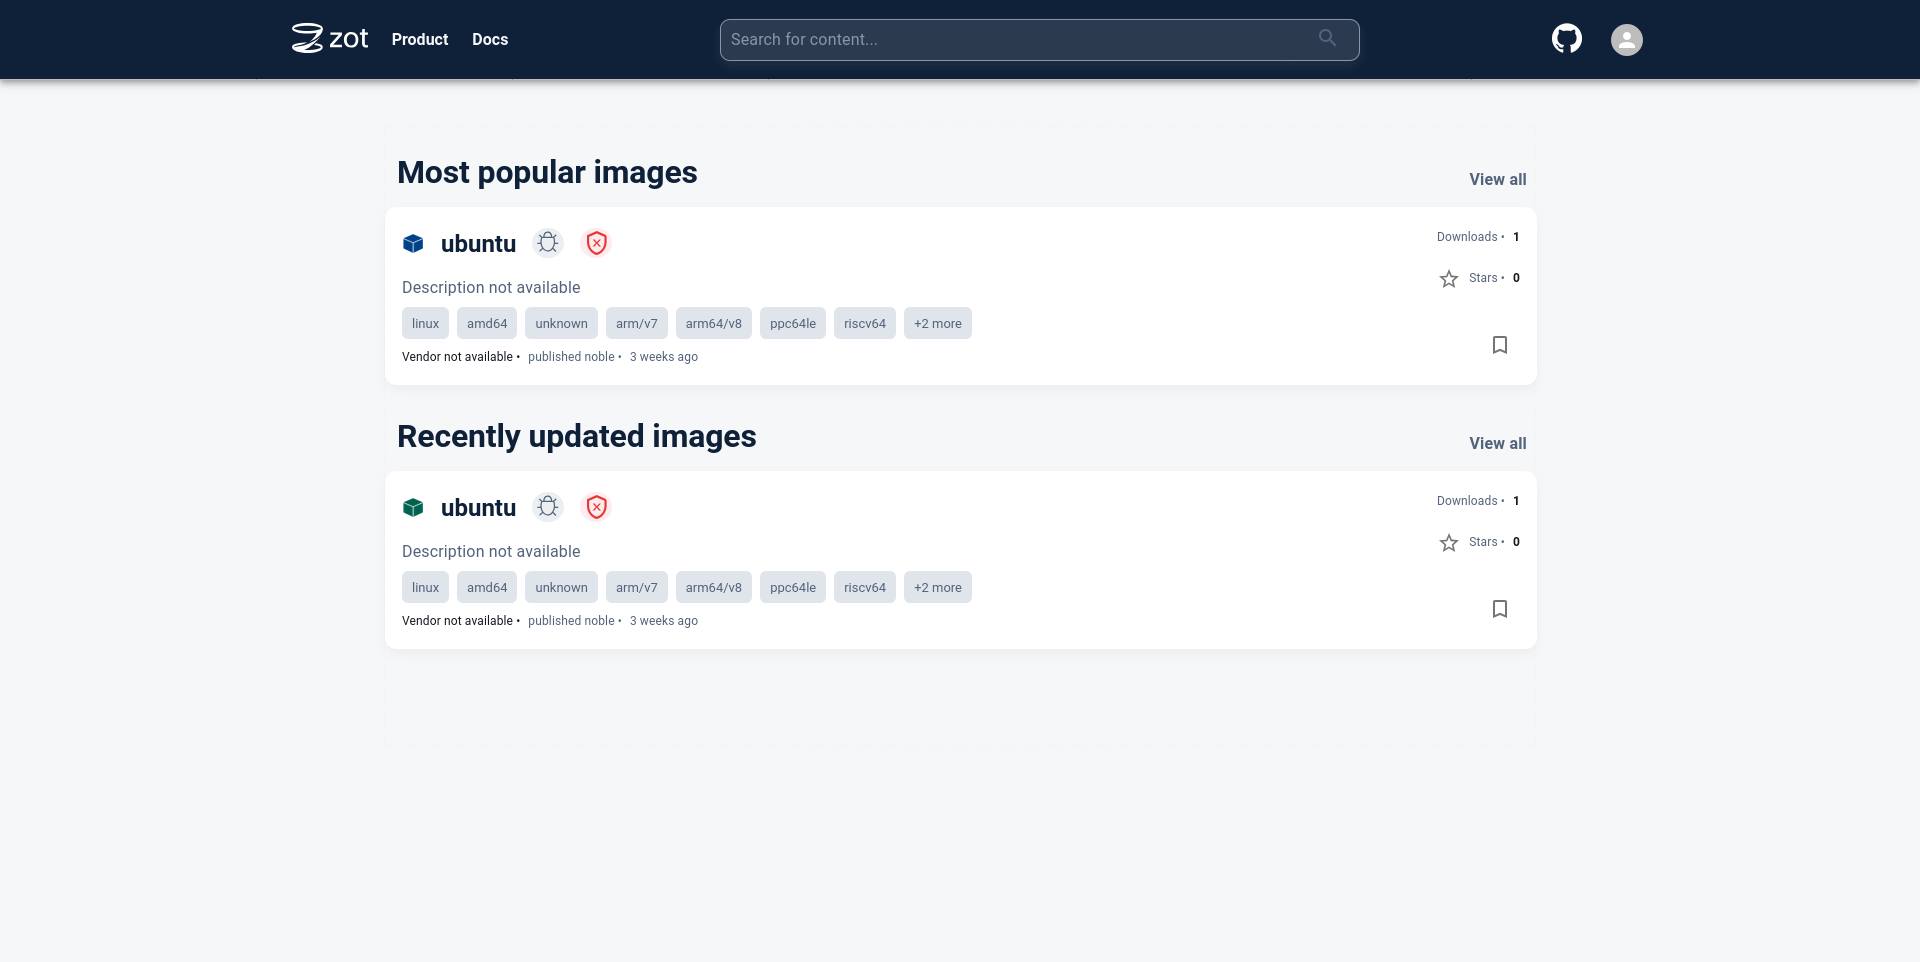
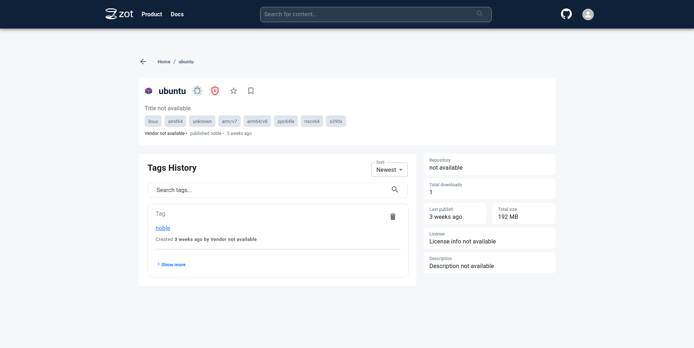
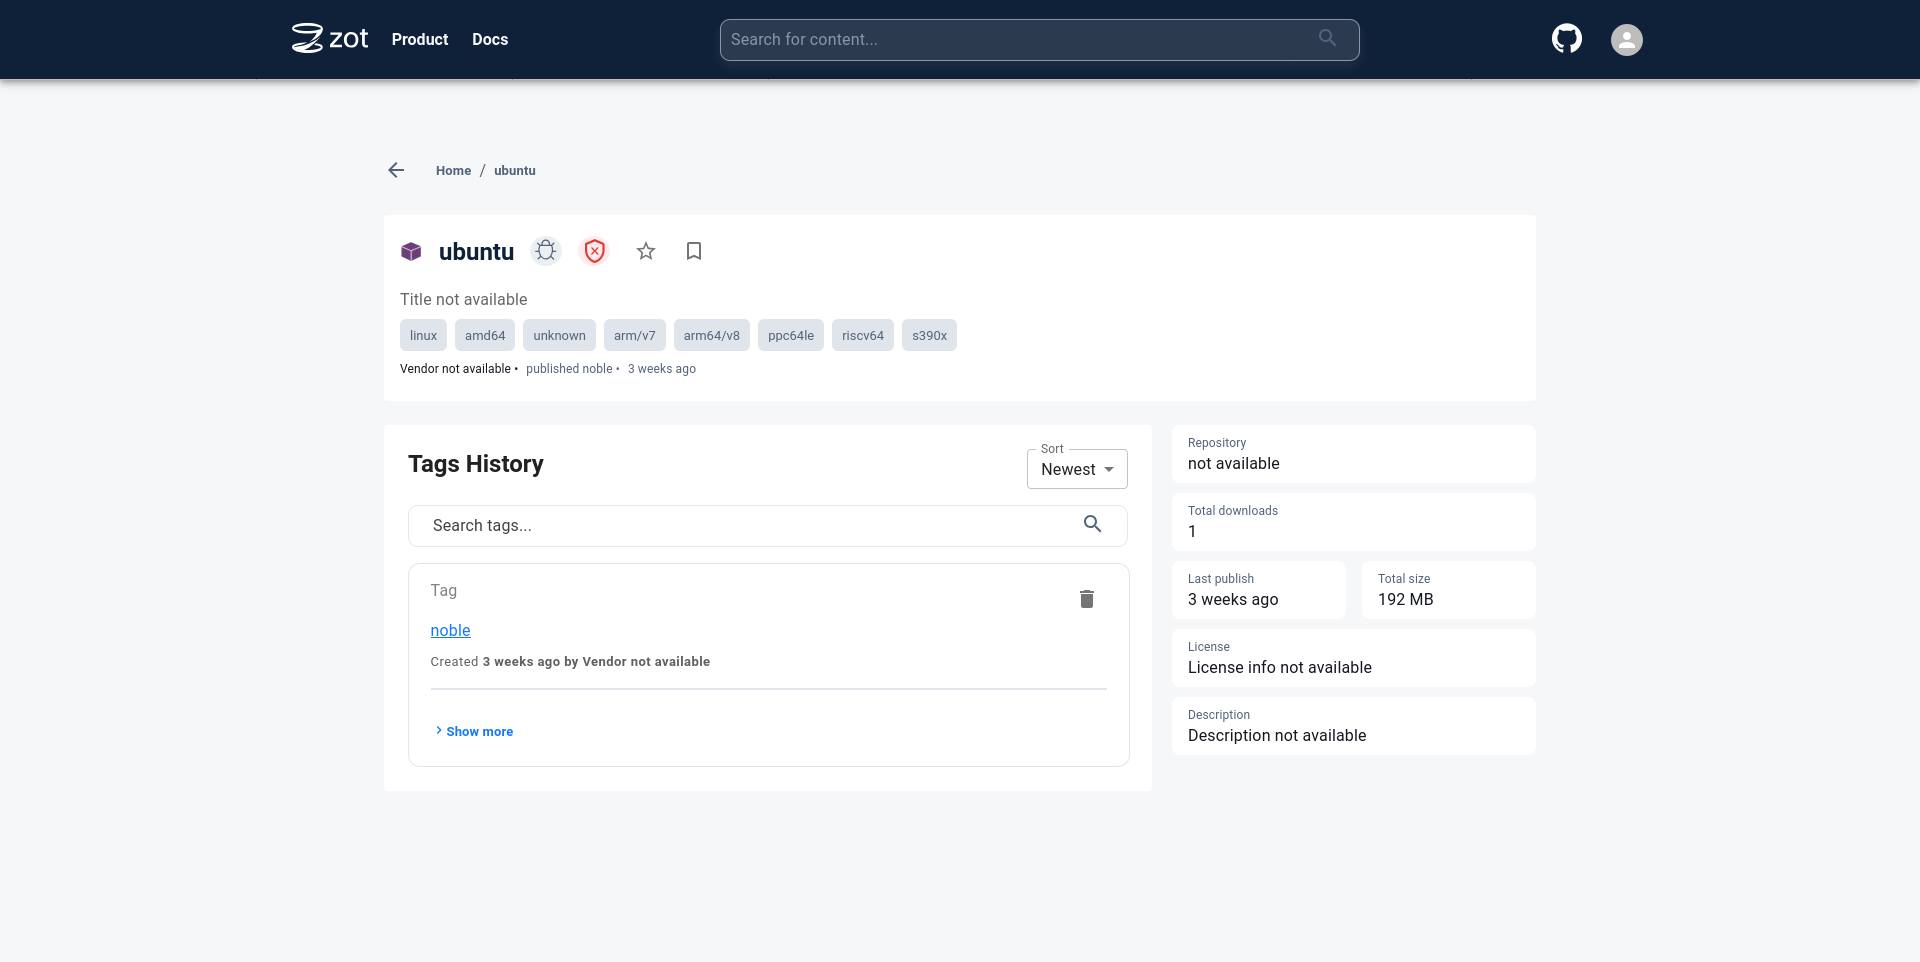
Navigate to the zot UI in the browser. The image that was just downloaded would be listed on the home page.

Click on the image name to see more details about the image.

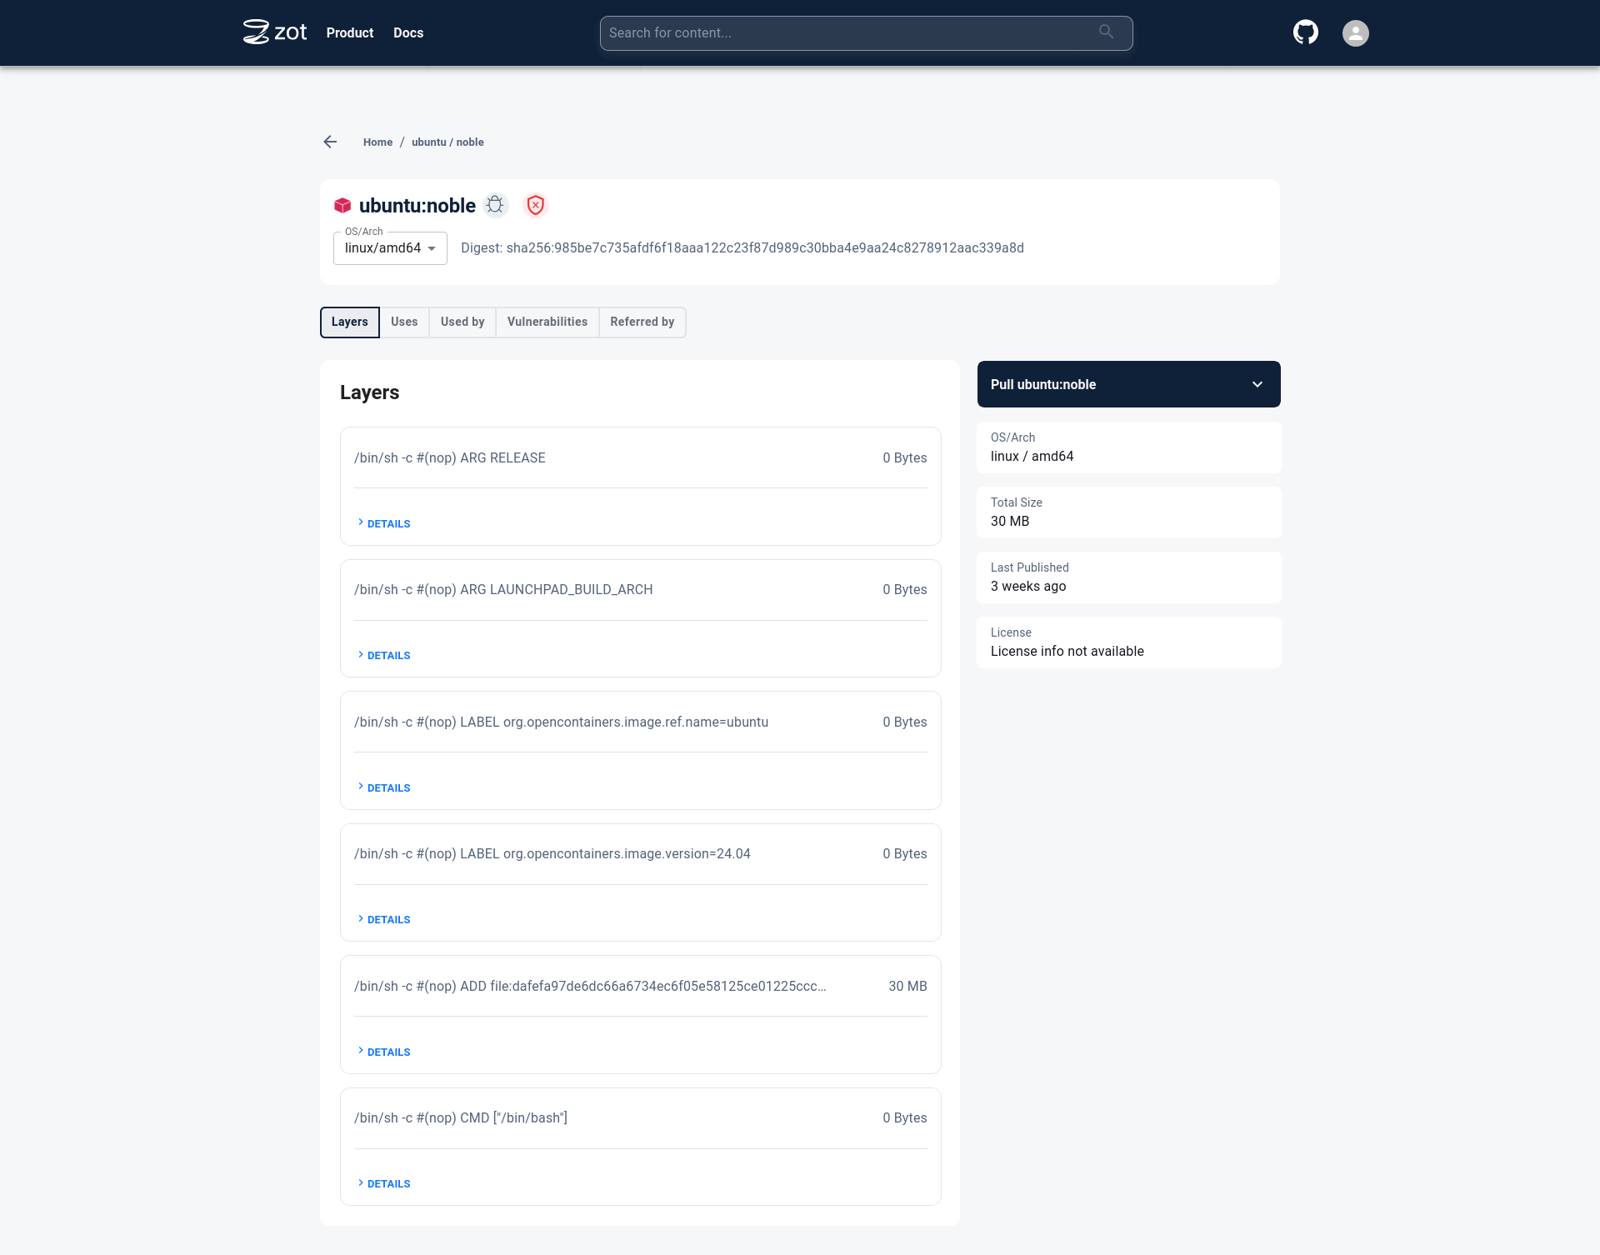
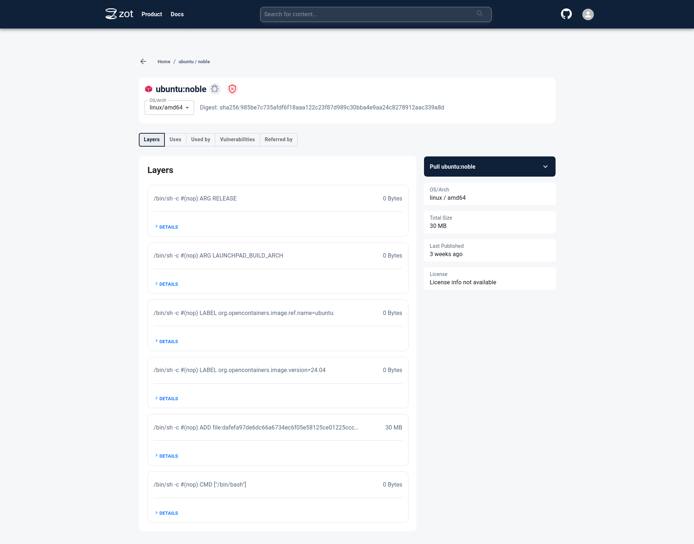
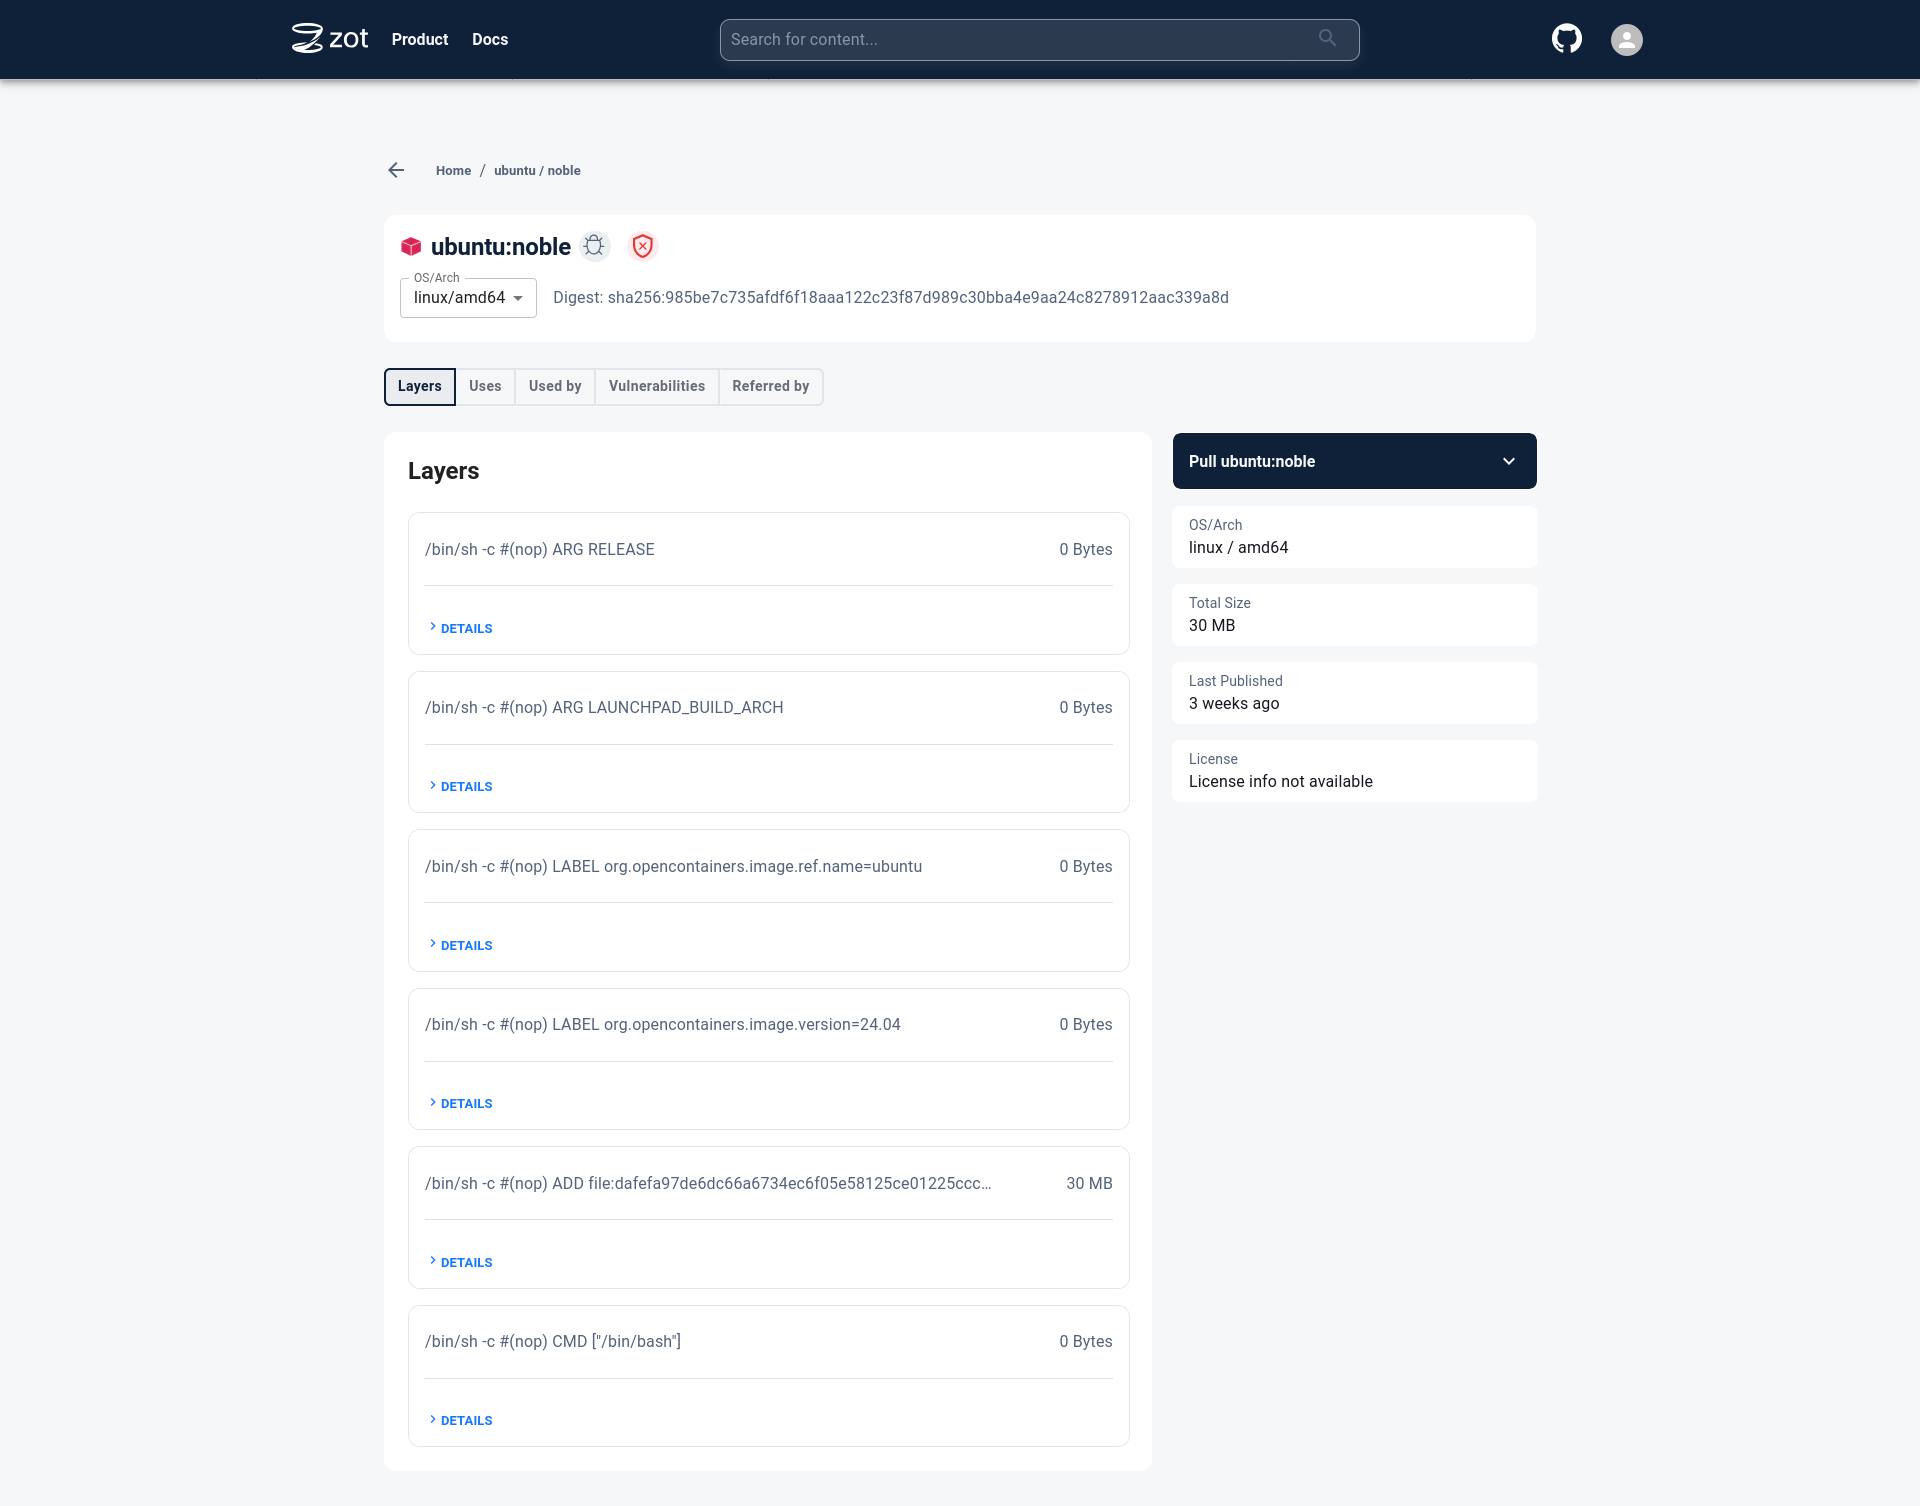
Click on the tag to see more details specific to a particular image tag.

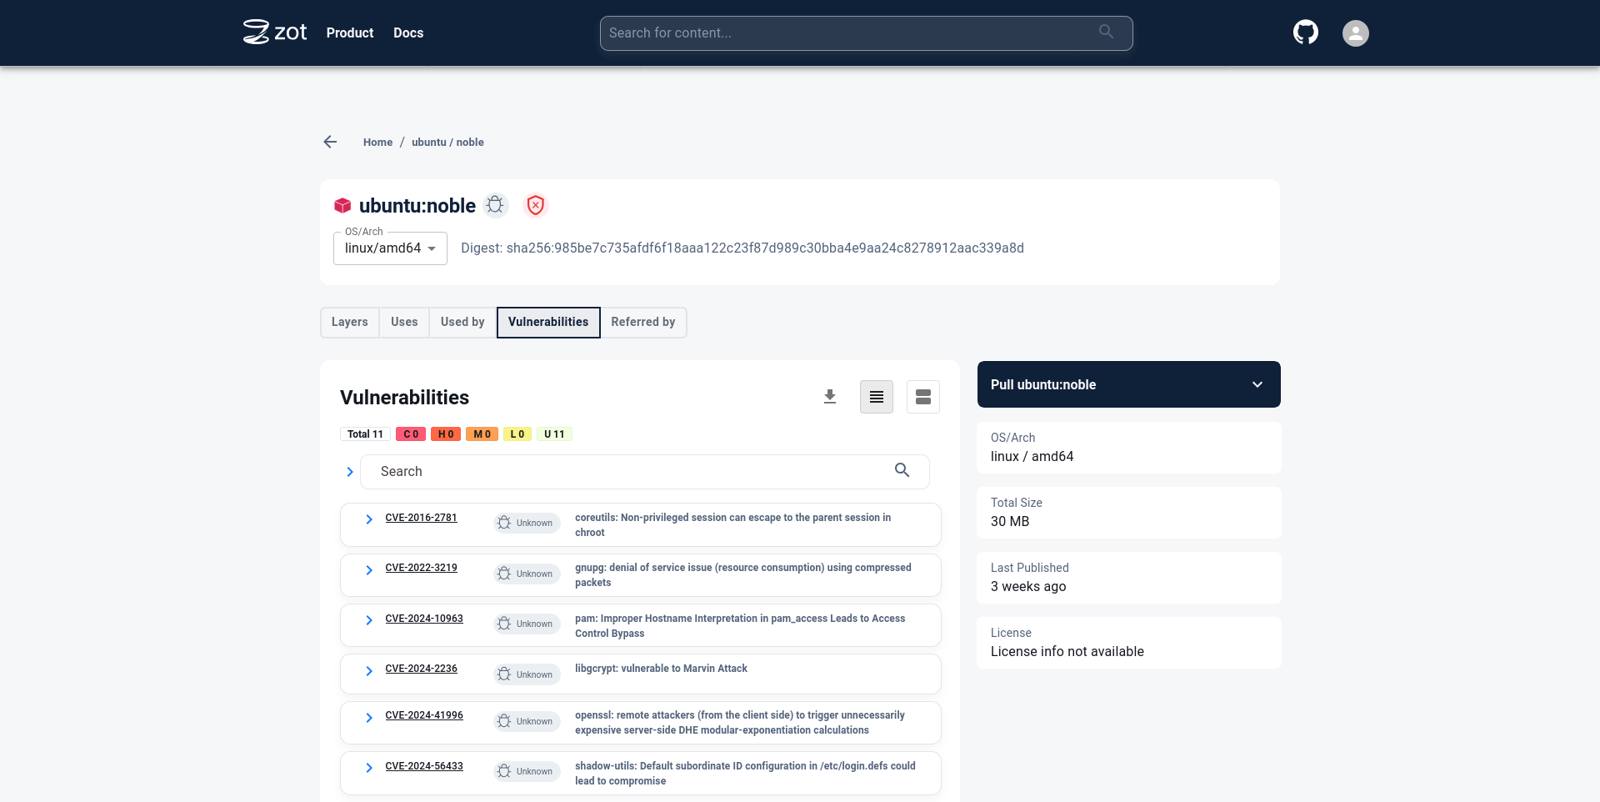
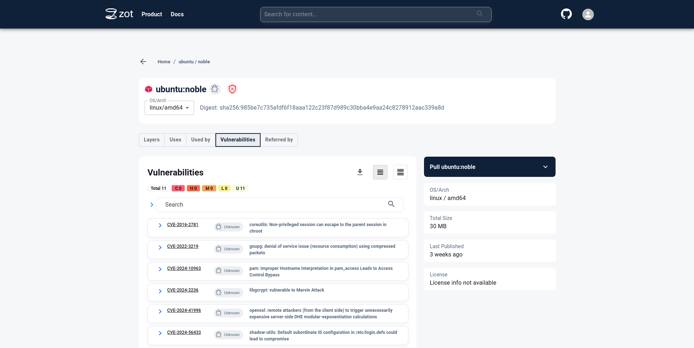
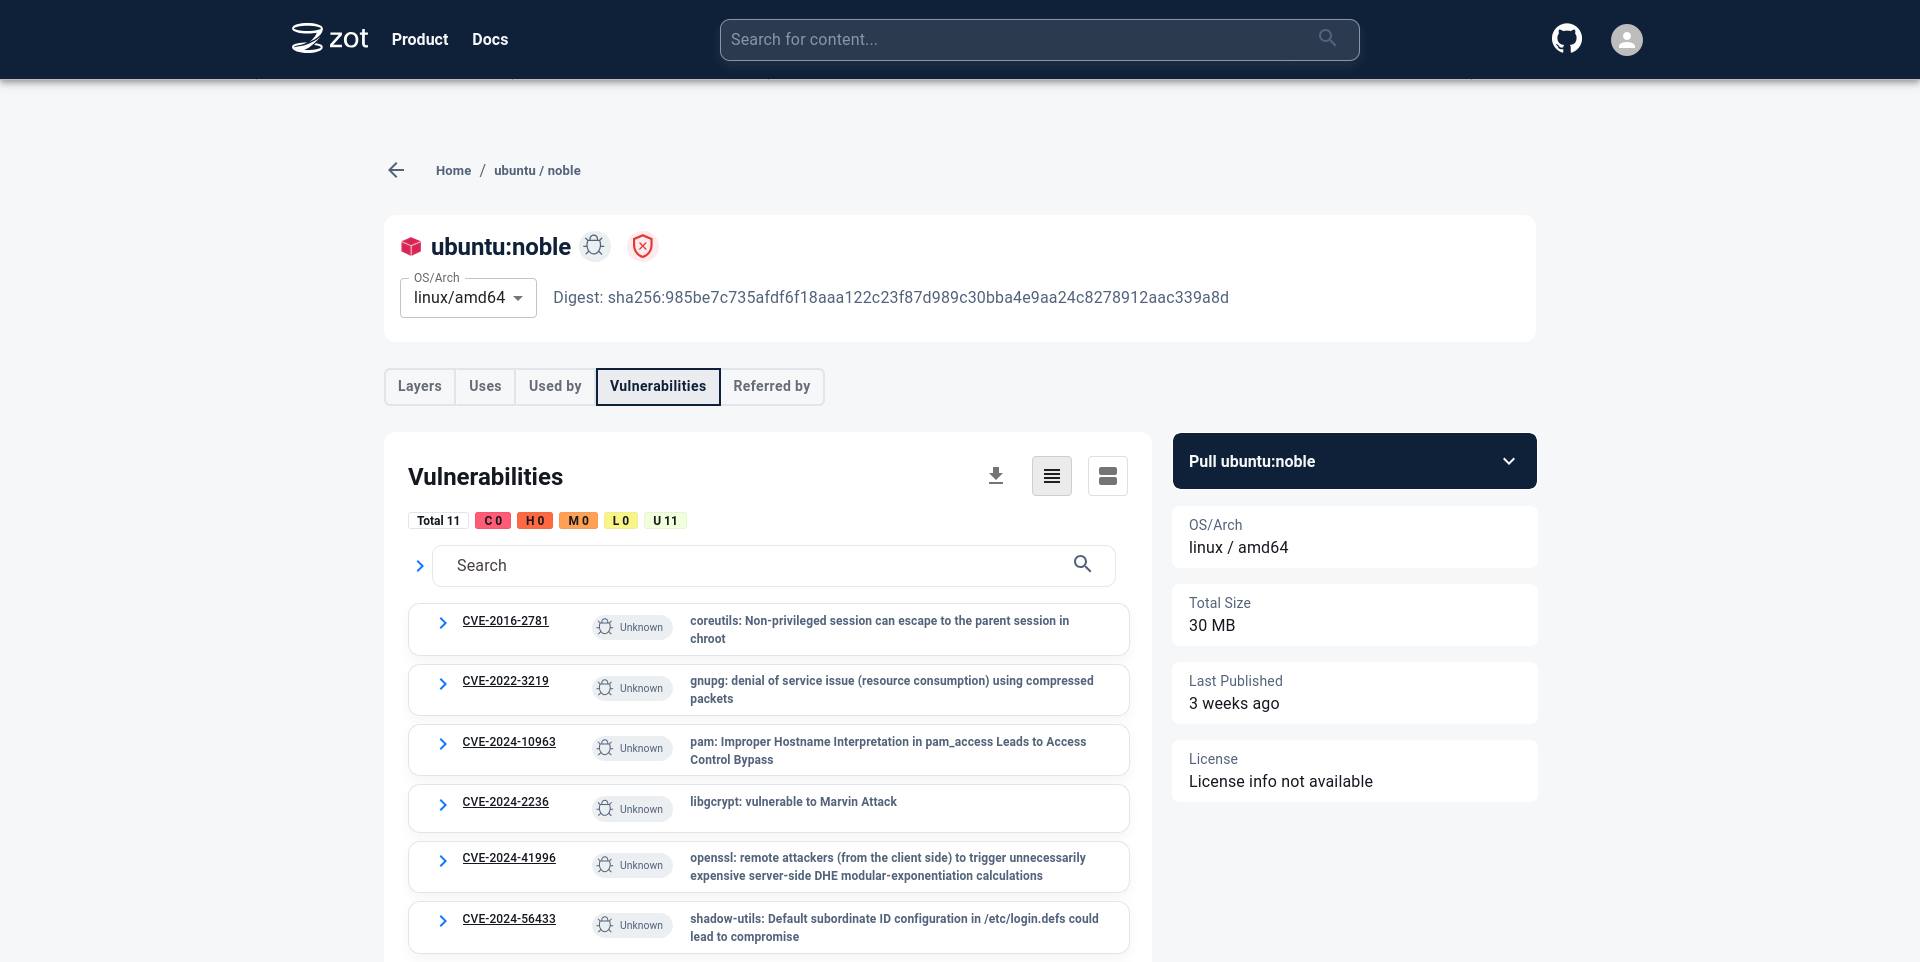
Click on the Vulnerabilities tab to see details about Vulnerabilities in the image.

Conclusion
You have successfully self-hosted the zot registry!
Next, navigate to the zot documentation links below to learn more about zot and other features that zot supports.
More Information
You may wish to consult the following resources for additional information on this topic. While these are provided in the hope that they will be useful, please note that we cannot vouch for the accuracy or timeliness of externally hosted materials.
This page was originally published on
